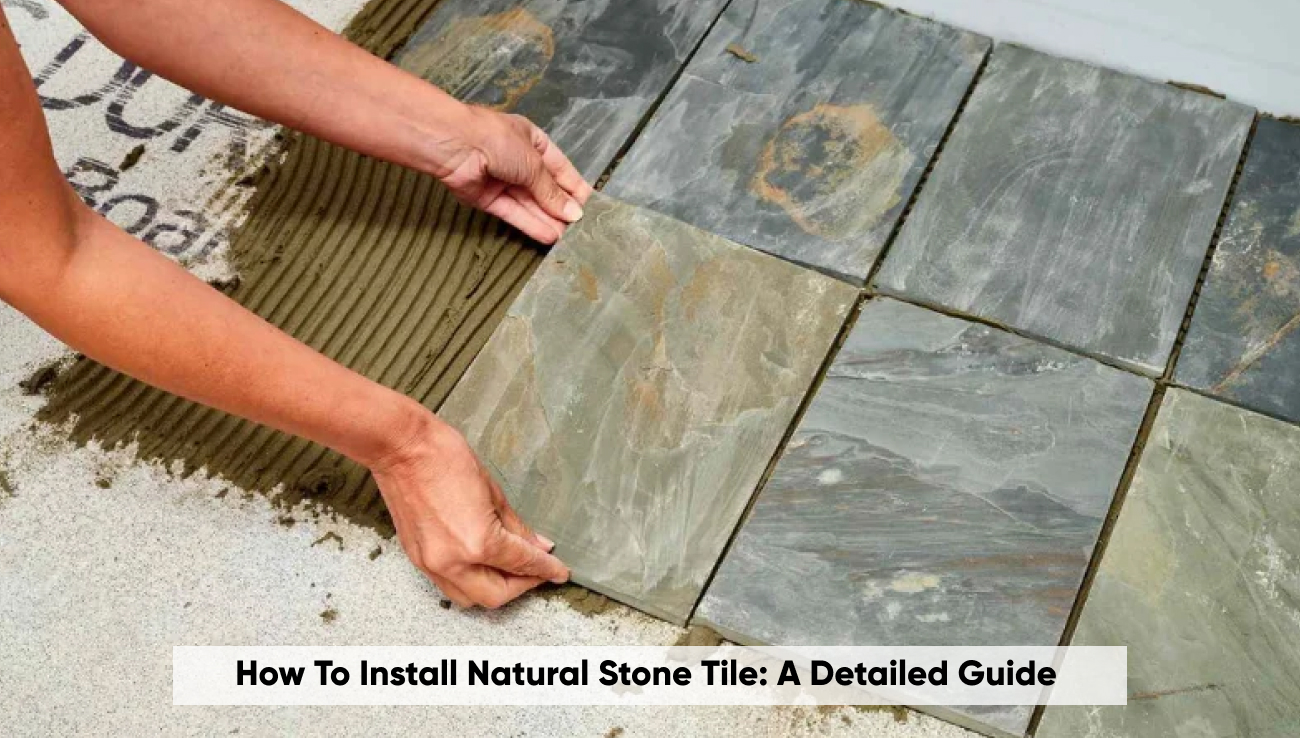
Looking for some installation tips for the natural stones and tiles? This blog is for you.It is a comprehensive guide on how you can install your tiles, what preparation you can do, and also what steps you can take while laying down your tiles.
Another thing we shall discuss is how the natural stone tile can make your floors and walls look durable yet stylish.
Preparation: What You Need to Know Before You Start
First, there are some important things that one becomes aware of. If one is preparing for installation or thinking of installing Natural Stone Tile, then there are a couple of steps that one might want to consider.
- Measuring the Area: Firstly, start with measuring the area where you’re thinking of installing your natural stone tile. Make sure you’re measuring accurately. By doing this step in advance helps you calculate the amount of natural stone floor tiles you need to purchase. A tip: always purchase extra, in case some of them gets broken in the process.
- Choosing the Right Tiles: Now comes the important part. You should choose the appropriate tiles as per your decor. Every type of natural stone tile, marble, slate tiles offer different look, so you need to choose as per your preference.
- Acquiring the Necessary Tools and Materials: Gathered all the required tools? This step is important to start installation. There are some specific tools you might require, such as a wet saw, a notched trowel, a level, and a rubber mallet. Also, with these make sure you have enough quantity of tile adhesive and grout.
Installation Steps: Laying Down Your Tiles
Installing natural stones and tiles requires precision and patience. Want to ensure a successful installation? Try out these steps:
- Preparing the Surface: Ensure that the surface on which you will lay the stone tiles is clean, level, and dry. Any debris or unevenness can cause problems later on.
Laying the Tiles:
- Applying Adhesive: First, start by holding a notched trowel and start applying adhesive. Begin with the center or at one end of the room.
- Placing the Tiles: Carefully lay each natural stones and tiles, pressing it into the adhesive. Place spacers between the tiles to ensure even gaps for the grout. Check regularly with a level to ensure all tiles are flat and even.
- Cutting Tiles as Needed: Use a wet saw to cut the natural stone tile to fit around corners, edges, or fixtures. You don’t want to hurt yourself, so wear safety gear when cutting tiles.
Grouting: The Finishing Touch
We can move on to grouting once our adhesive that we applied to our natural stone floor tiles has set. It typically takes 24 hours.
- Mixing and Application of Grout: While in this process, you should mix the grout as per the instructions of the manufacturer. We suggested that you select a color of the grout that should be fine and also matches well to your stone tiles. After making up the grout mixture, apply it diagonally with the help of a grout float across your tiles.
- Cleaning Up: Carefully remove all excess grout from the tile surface using a damp sponge. Make sure the grout is washed out of the tile surface before it dries, as this can make a removal process a bit of a nightmare.
Aftercare: How to Care for Your Natural Stone Tiles
Natural stone floor tiles requires proper maintenance to ensure that it remains looking great for years to come:
- Sealing the Tiles: Some Natural Stones And Tiles need to be sealed before the stains and water can seep into them. Check on your specific type of stone for its specific requirements and apply a sealer.
- Clean the tiles regularly: Clean your stone tiles regularly with mild detergent and water. Avoid using acidic cleaners since they could damage natural stone.
Conclusion
Installing natural stone tile is a great choice. It will add value and beauty to your home. Follow these clear steps, and you’ll be sure that your natural stone floor tiles are installed correctly. Also, they will be maintained well. Remember, taking your time to focus on every detail during the installation process is important. It will definitely pay off. You’ll end up with a beautiful result. Your whole home will look beautiful.
FREQUENTLY ASKED QUESTIONS
Q. What is the best way to measure the area for natural stone tile?
A. Measure the length and width of your space in feet or meters, then multiply to get the total square footage or square meters. Always buy 10% more to cover cuts and waste.
Q. Can natural stone tile be installed over any surface?
A. Natural stone tile should be installed on a clean, flat, and stable surface. Existing tiles or concrete floors are ideal, but wooden substrates may require cement backer boards.
Q. What tool would I need while installing my natural stone tile?
A. Major tools would include a wet saw to cut tiles, the notched trowel to spread the adhesive, a level to double-check evenness, and a rubber mallet to tap tiles delicately into place.
Q. How long do I wait after installing natural stone tiles before applying the grout?
A. Set the adhesive completely, generally 24 to 48 hours, before grouting so that the tiles will be well held in place.
Q. Does tile made from natural stone require sealing?
A. Sealing is generally essential for most natural stone tile due to the reason that it would prevent staining and water damage. Check the manufacturer’s recommendation and reseal as advisable, usually every one to two years depending on usage.
Read More Blogs:– Luxury Vinyl Plank Flooring Installation Guide
