Engineered hardwood flooring is the type of flooring that combines beauty with efficiency. By combining both, it offers a durable and flexible flooring solution. This flooring is constructed from layers of real wood squeezed together. By having multiple layers, engineered hardwood floor can easily handle changes in moisture and humidity.
Now, if you have purchased this flooring or are deciding to go with this flooring, and you don’t want to hire a professional. You can lay this engineered hardwood flooring by 4 installing options. Moreover, Every option is best and can make installing engineered hardwood flooring easier.
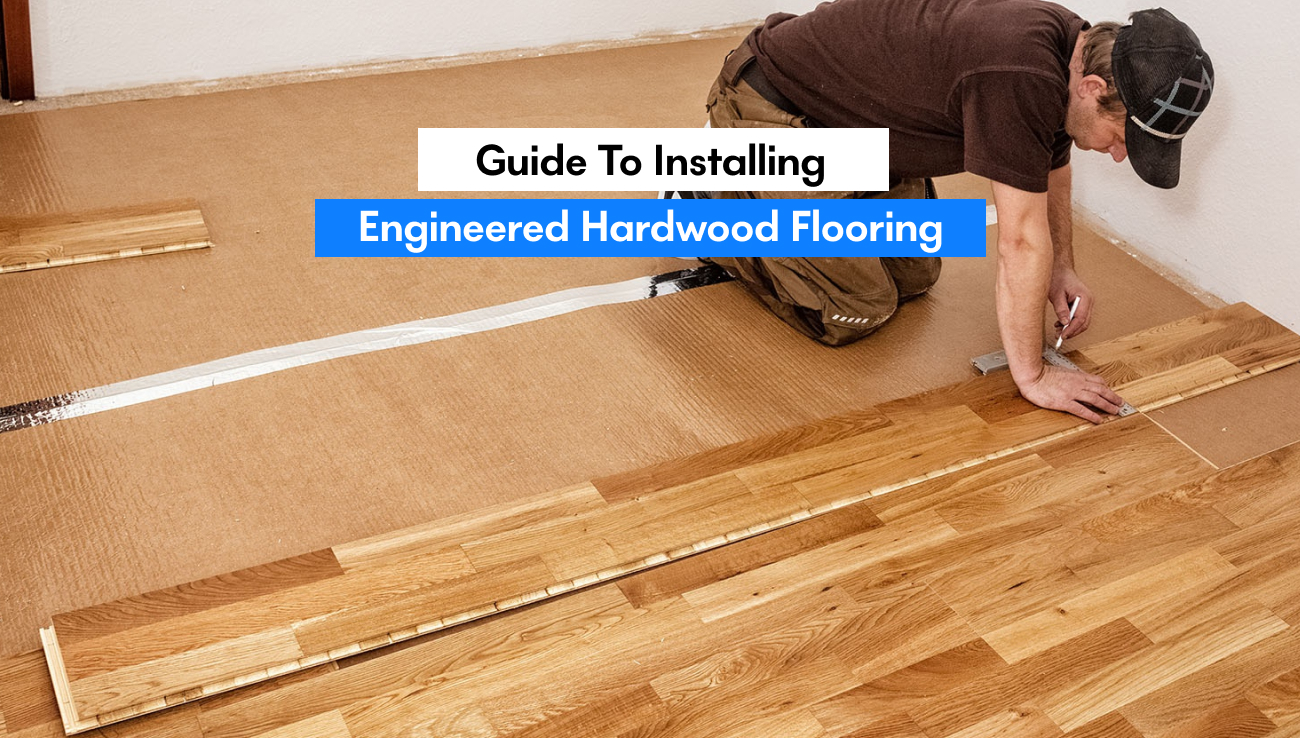
Here’s a step by step guide on how to install engineered hardwood flooring effectively, ensuring a professional finish.
Tools and Materials Needed
- Tools: You’ll need a pneumatic flooring nailer for the nail-down method, a saw for cutting planks to fit, a hammer for adjustments, a taping block to protect the planks while tapping them into place, spacers to maintain expansion gaps, and a tape measure for precise measurements.
- Materials: Select high-quality engineered hardwood planks, underlayment for cushioning and moisture protection, flooring adhesive for glue-down installations, and matching wood putty to fill in nail holes and minor gaps.
Installation Methods
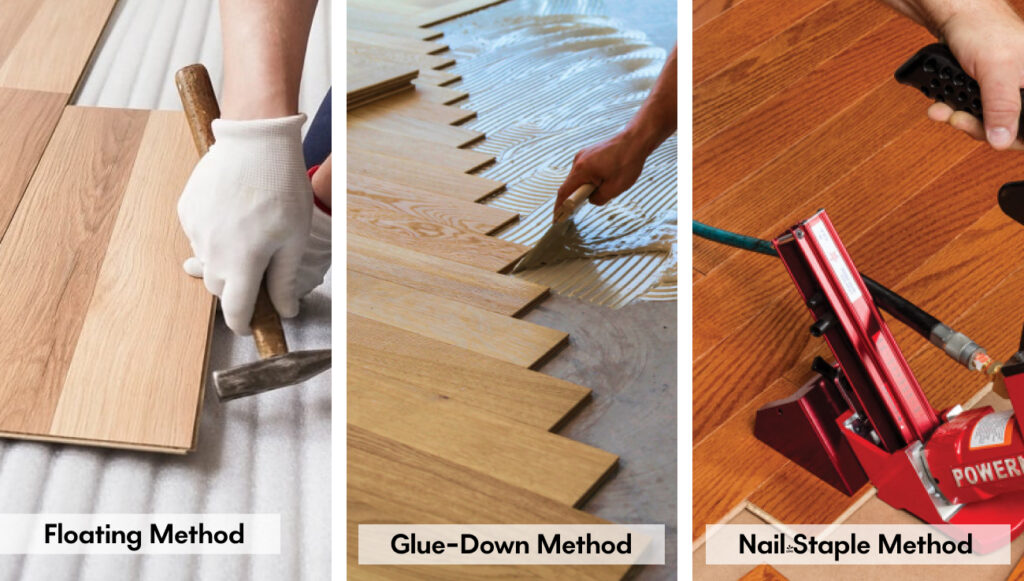
Floating Method:
- Underlayment: Start by rolling out the underlayment, which should cover the entire floor to provide a moisture barrier and sound insulation.
- Plank Placement: Begin in a corner, laying planks tongue-side facing out, and connect them end-to-end. Continue across the room, maintaining a consistent expansion gap using spacers.
- Interlocking: Most engineered planks designed for floating installation have an interlocking system where you click or snap the planks together, making this process suitable for beginners.
Glue-Down Method:
- Adhesive Application: Using a notched trowel, spread the adhesive evenly over the subfloor in manageable sections so that it does not dry before the planks are laid down.
- Plank Placement: Press each plank firmly into the adhesive, starting from one side of the room and working systematically to the other to ensure a tight fit and level surface.
- Cleanup: Immediate removal of excess glue is critical to avoid a sticky residue on the surface of the new flooring.
Nail/Staple Method:
- Securing the First Row: Carefully align the first row of planks against the longest wall, using a pneumatic nailer or stapler to attach each plank at the recommended distance from the edge.
- Subsequent Rows: Continue laying planks, making sure to stagger the joints by at least six inches for added stability and visual appeal.
- Nail Hiding: Once all planks are secured, go back and fill any visible nail holes with wood putty that matches the color of your flooring.
Post-Installation Care
- Trim and Transitions: Install trim around the perimeter and transitions at doorways or where the new floor meets other types of flooring. These not only cover expansion gaps but also enhance the finished look of the installation.
- Protection Measures: To prevent scratching and enable easy movement of furniture, attach felt pads to the legs of chairs, tables, and other heavy items.
Maintenance Tips
- Regular Cleaning: Want to remove dirt? You should use a soft broom or a vacuum with a hardwood setting. For mopping, you should use a slight damp mop with a cleaner which is particularly developed for engineered hardwood.
- Spill Management: Wipe up spills immediately to prevent water damage, especially on engineered hardwood flooring, which is less tolerant of standing water than vinyl or tile.
Conclusion
To conclude, installing this engineered hardwood flooring can increase the resale value of your home. Want to know how? It’ll increase your chances of finding potential buyers. The first thing buyers look into is flooring, how durable or how much life is on the floor. So, installing engineered hardwood flooring can directly improve the look of your home.
FREQUENTLY ASKED QUESTIONS
Q. Can I install engineered hardwood flooring myself?
A. Yes, you can install engineered hardwood with the right tools and a detailed guide. You can use methods like floating, glue-down, or nail/staple.
Q. What is the best underlayment for engineered hardwood flooring?
A. A high-quality underlayment that provides cushioning and moisture protection is best for engineered hardwood flooring. It improves its durability and comfort.
Q. How do I handle moisture when installing engineered hardwood flooring?
A. To prepare for humidity and moisture fluctuations, ensure the underlayment functions as a moisture barrier and has an equal expansion gap around the perimeter.
Q. What should I do if there’s excess glue during the glue-down installation?
A. To avoid leaving residue on the surface of your just installed engineered hardwood flooring, remove any excess glue right away using a wet cloth.
Q. How can I protect my newly installed engineered hardwood floor from scratches?
A. Attach felt pads to the legs of furniture and avoid dragging heavy items across the floor to prevent scratching and maintain the floor’s appearance.